How does our Permission Funnel work?
Using Kipwise, you can organize your content by creating folders and sub-folders. In the past, permission could only be set at the top level folder and all subfolders will follow the permission settings of the top level folder. But to allow more fine-grained permission control, we have now added permission settings at the sub-folder level as well.
To help you keep things organized and secured, our permission control works like a funnel where you can only narrow down the list of teammates who have access at the sub-folder level but not expand it. This is to prevent unexpected teammates to be granted access rights to the content in a sub-folder.

Why do we adopt a funnel approach?
Unlike the super flexible permission settings that you can see in many other tools like Google Drive where you can grant access freely to any teammates (even for those who don’t have access to the parent folder) when sharing a sub-folder, we believe a funnel approach (where you can only grant access to people who have access to the parent folder) is a much better way to keep your content organized, easy-to-find and secured.
1. There won’t be surprises that some unintended teammates will be granted access to the sub-level folders
By using a funnel approach, by looking at the top level folders, you can be rest assured that only people under this list will have access to any of the subfolders instead.
On the contrary, for the super flexible approach like Google Drive, you will never know if someone who is not on the original list is granted access until you click into every individual sub-folder to check. As you create more and more sub-folders over-time, it is very easy to lose track of who has access to what content.
2. Everyone can see a more organized folder structure
For example, you have a top level folder called “Marketing” and 3 sub-folders called “SEO”, “Social” and “Outbound”.
By using a funnel approach, teammates who have access to any subfolder must have access to the parent folder, so you can ensure that for any subfolder(s) that they have access to, they will be grouped and neatly organized under the parent folder “Marketing”.
On the contrary, for the super flexible approach like Google Drive, someone who has access to the subfolders “SEO”, “Social” and “Outbound” might not have access to the parent folder “Marketing”. This way, the system won’t be able to group the 3 subfolders under the same parent folder and the folder structure can get really messy and everyone will see a different folder free.
.png)
Levels of Access Rights
For each teammate / user group that you have granted access, there are 5 different levels of access rights that you can set:
Owner
- Can create subfolders
- Can rename / delete the folder and subfolders
- Can change the permission setting of the folder and subfolders
- Can set up activity feeds in Slack for that folder and subfolders
- And all actions that can be done under the “can review” access right
Can review
- Can approve content in that folder (read more about our content review flow)
- And all actions that can be done under the “can edit” access right
Can edit
- Can edit content in that folder but cannot approve content in that folder. For content that they created, it will automatically be marked as "to be reviewed" and need to be approved by someone who has the reviewer right.
- And all actions that can be done under the “can comment” access right
Can comment
- Can comment on that folder but cannot edit
Can view
- Can view the content but cannot comment
For our funnel approach, it only applies to the “list of teammates” who have access, but we allow you the flexibility to grant them a higher level of access rights at the sub-folder level because we believe it’s a more common use case that people should have a higher level of access right (e.g. owner right or edit right) for a subset of content instead of the entire folder.
For example, you have a parent folder called “Marketing” and 2 subfolders called “SEO” and “Social Media”, you can make the folder “Marketing” accessible to the user groups “SEO Team” with read-only right but grant edit right for the “SEO Team” for the “SEO” folder so the SEO team can edit content inside the “SEO” subfolder only but not the entire “Marketing” folder.
Real life example of how the Permission Funnel works
Let us use a real life example to walk you through how you can utilize our permission funnel.
Example: You are the Marketing Director
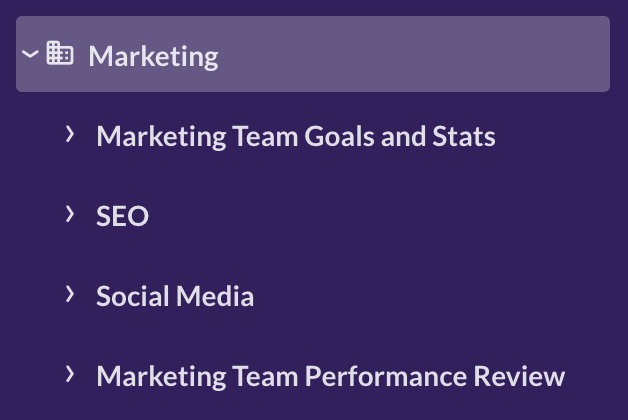
For example, you are the Marketing Director and you created a top level folder called “Marketing” with 4 sub-folders under it, namely “Marketing Team Goals and Stats”, “SEO”, “Social Media” and “Marketing Team Performance Review”.
To allow transparency across teams, you might want to allow the whole organization to be able to view the content of some folders. But to prevent them from messing up the content, you only want the marketing team to be able to edit the content. Then for more sensitive folders such as “Marketing Team Performance Review”, you want to limit access to the marketing managers only.
To do so via our permission funnel:
1. For the top level folder “Marketing”
- Set “Everyone at YourCompany” to be “can view” (or “can comment”)
- The user group “Marketing Team” to be “can edit”
- The user group “Marketing Managers” to be “can review”
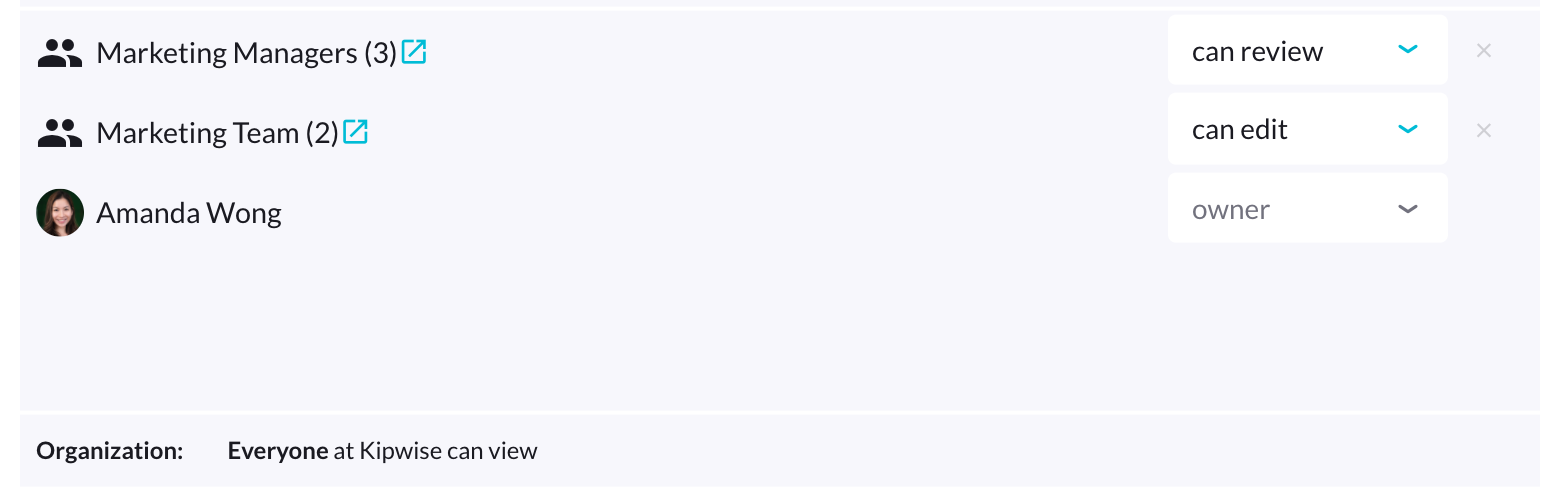
This way, everyone at your company would be able to view the content inside the folder but only the marketing team can edit the content and only the marketing managers can approve the content.
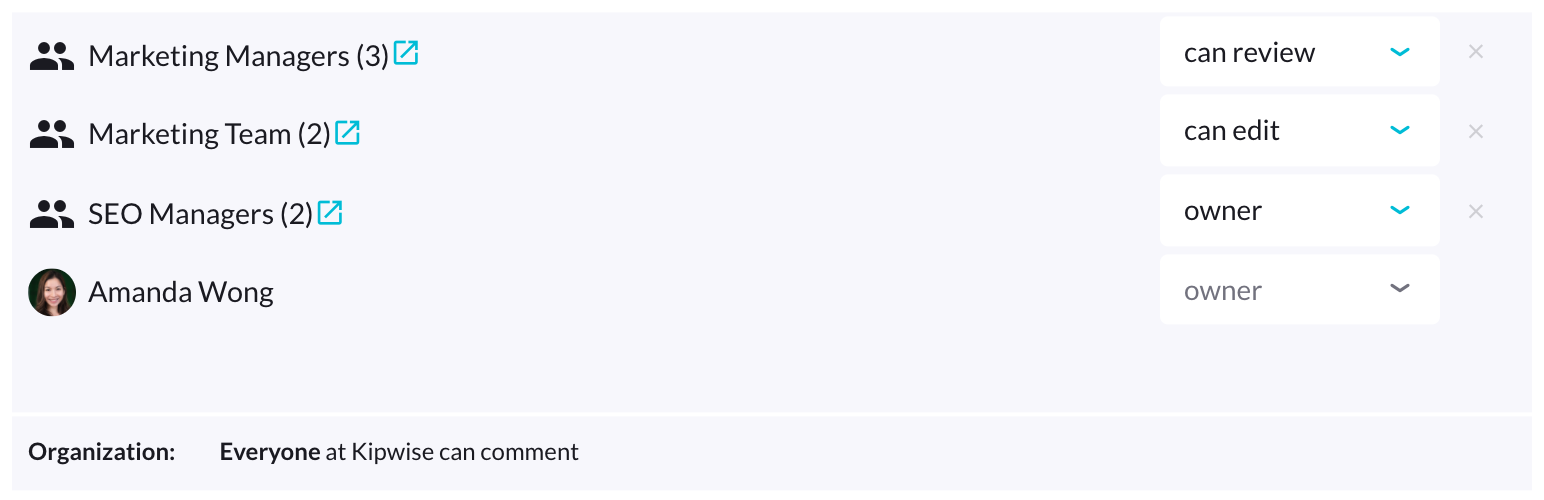
2. For the more sensitive subfolder “Marketing Team Performance Review”
- Change the access from “Everyone at YourCompany can view” to “Only selected users can view or edit”
- Then set “Marketing Managers” to be “can review” (or can “edit”)
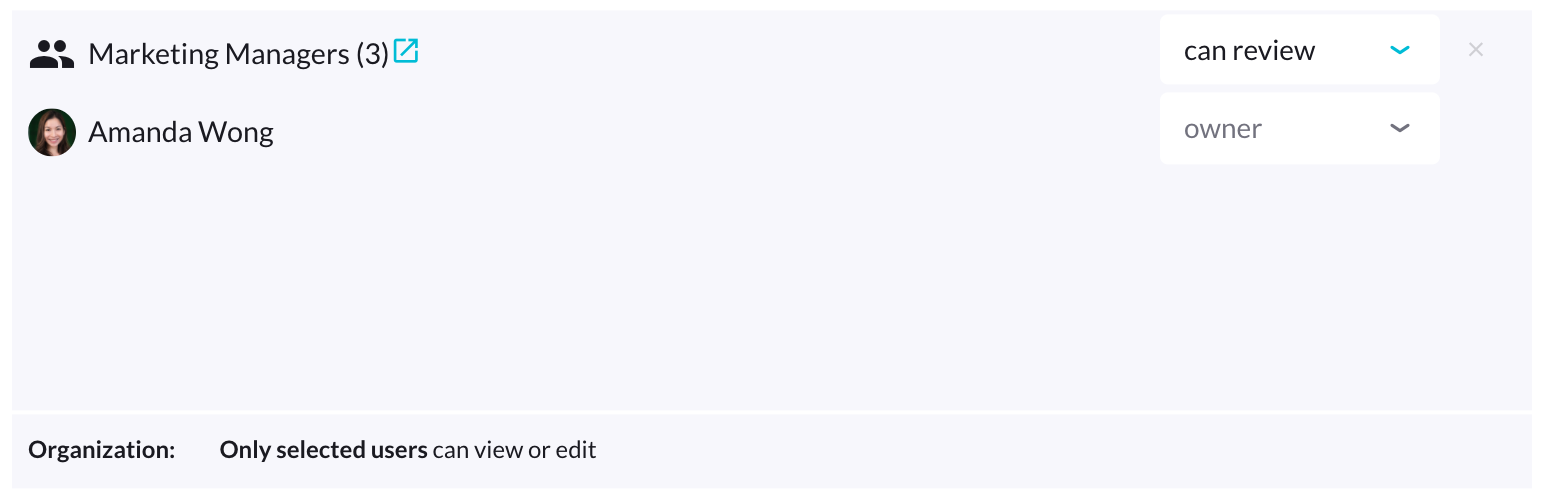
This way, only the marketing managers would be able to approve and edit the content inside this folder and everyone else won’t have access to the content inside this folder.
3. For the subfolder “SEO”
Say you have a big team and it’s hard for you as the Marketing Director to manage everything on your own, you can grant “owner right” to your team leaders so they can manage content that are under their responsible areas.
For example, for the subfolder “SEO”, you can grant “owner right” to the user group “SEO managers” so your SEO managers can create and delete subfolders under the folder “SEO” and can also manage the permissions settings under “SEO” as well.
* Because we adopt a funnel approach, to be able to select “SEO Managers” as a user group, you will have to first add this group to the top level folder “Marketing” first. You can set them as “can edit” only for the “Marketing” folder so they will only have owner rights for the “SEO” folder but not the entire “Marketing” folder.
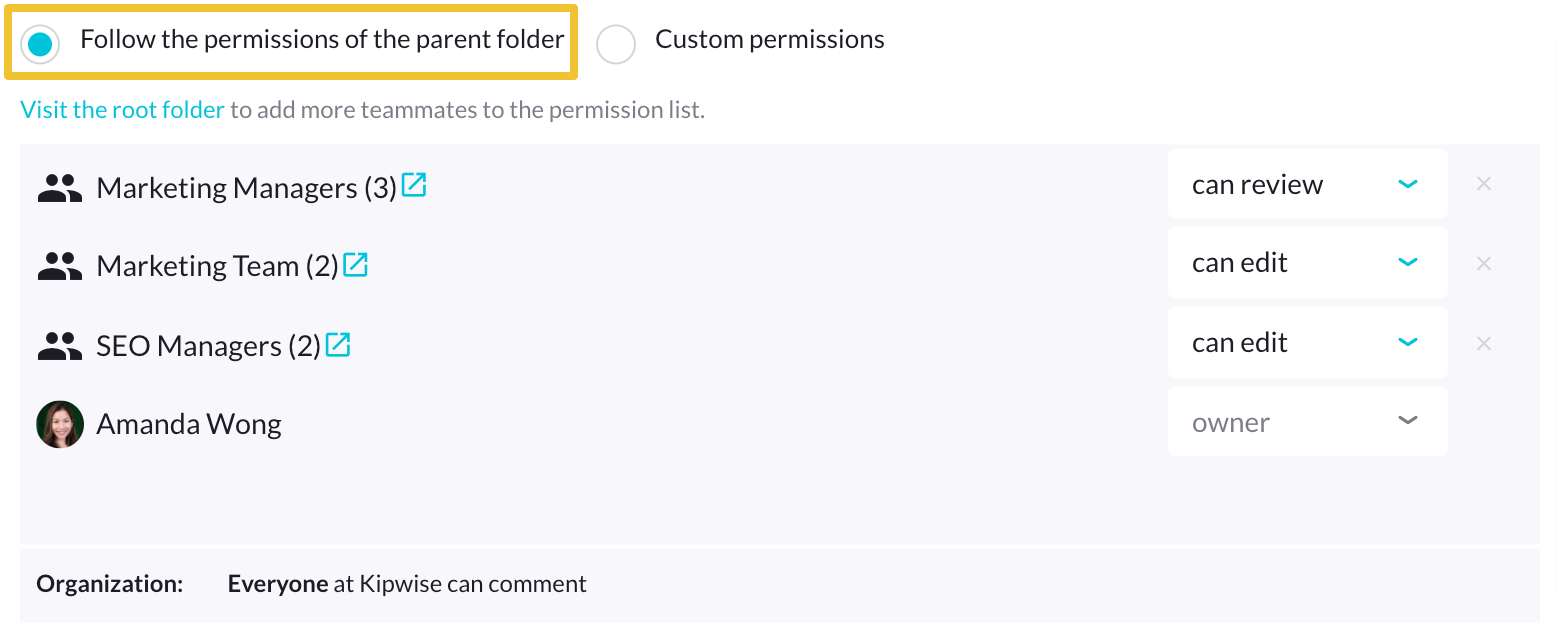
Don’t need to narrow down the access rights? Use the “Follow the permissions of the parent folder” option
For some subfolders that you don’t need to further narrow down the access rights, e.g. “Marketing Team Goals and Stats”, you can simply select the option “Follow the permissions of the parent folder”. In the future, if you update the permission settings of the “Marketing” folder, the same changes will apply to the subfolder “Marketing Team Goals and Stats” automatically.
For example, in the future, you grant a new user group "Social Media Team" edit right to the parent folder "Marketing", it will automatically be added to this subfolder "Marketing Team Goals and Stats" with edit right while it will remain as no access to other subfolders ("SEO", "Social Media" and "Marketing Team Performance") that you didn't check the "Follow the permissions of parent folder" option.
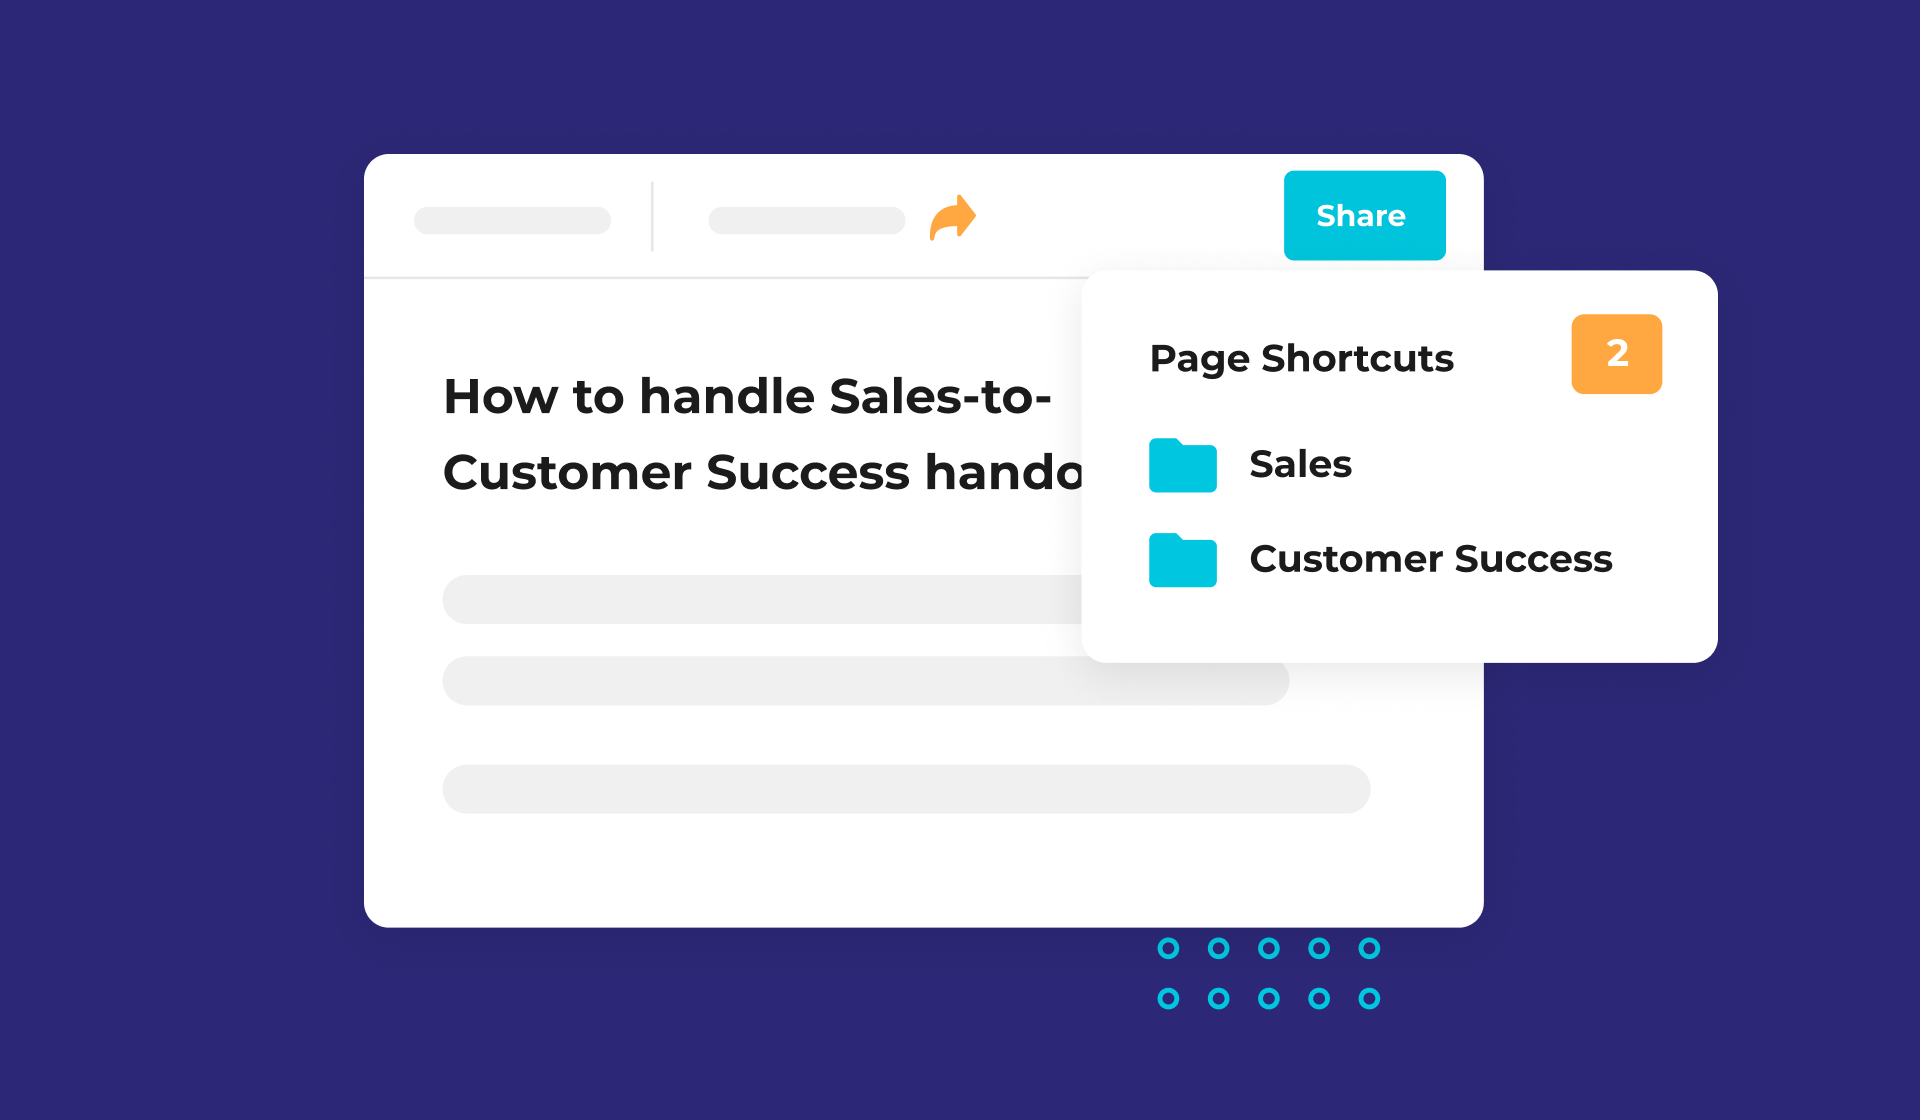
Page Shortcuts - sharing the same Page across multiple folders
We also understand that under some scenarios, some content might be useful to share across multiple teams. Instead of needing to create duplicate content (which will make it hard to manage updates going forward), you can create a Page Shortcut that allows you to share a Page in multiple folders.
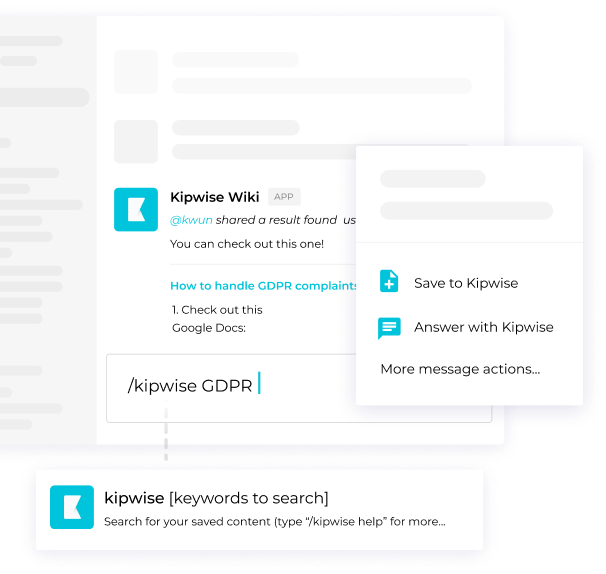
For example, you have an article “How to handle Sales-to-Customer Success handoff”, you can first create a Kipwise Page in the Sales folder and then create a Page shortcut in the Customer Success folder. This way, the article “How to handle Sales-to-Customer Success handoff” will also appear under the folder tree of Customer Success and your customer success team teammates can access the Page as well following the permission settings set in the Customer Success folder.
Read more about How Page Shortcut works.
Options to share certain content with people outside of your organization
If you are looking for options to share certain content with people outside of your organization, check out another blog post Manage internal knowledge efficiently with the feasibilty to share content with external parties. In that blog post, we will walk you through our other functions such as setting up a public customer-facing knowledge base or using trackable public links to share a particular piece of content with external parties.